
How to Set Up Free Fire Controls and HUD From Scratch
The default control layout in Free Fire is designed for average use, but it rarely feels perfect for every player. Button positions, sizes, and finger reach vary depending on phone size and how many fingers you use. Creating a custom HUD from scratch allows you to place every important action exactly where it feels natural. This guide walks you through the full process so you can build a layout that supports better movement, aiming, and overall control.
Why Default Controls Are Not Ideal
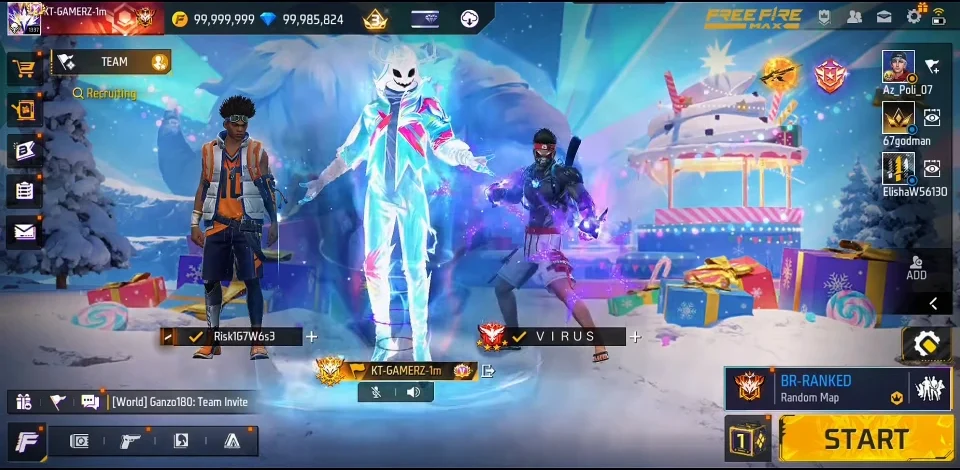
Default buttons are placed to work for as many players as possible, which means they are rarely optimized for any specific hand size or finger style. Some buttons may sit too far from your thumbs, while others cause accidental presses. Over time these small inconveniences affect reaction speed and consistency. Building a custom layout removes these limitations and lets you design controls around how you actually play.
Understanding Different Finger Styles
Before changing any buttons, decide how many fingers you use. Two thumb players control everything with left and right thumbs. Three or four finger claw players use additional fingers for fire, scope, or jump. Each style needs different button placement. Two thumb layouts keep actions closer to the lower corners of the screen. Claw layouts can spread buttons higher so extra fingers can reach them comfortably. Choosing your style first makes every later decision clearer.
Step by Step Custom HUD Setup
Open Free Fire and go to Settings, then Controls. Enable the custom HUD option. You will see every button become movable. Take a moment to look at the full layout before making changes. It is often easier to reset to default first so you start with a clean arrangement. Move one button at a time and continuously check how it feels with your natural finger position. Do not try to perfect everything in one attempt.
Best Button Placement Principles
Place the most important actions where your fingers naturally rest. Fire, aim, jump, crouch, and movement should be easy to reach without stretching. Keep related buttons close enough for quick combinations but far enough to avoid accidental presses. Leave some open space so your view of the game remains clear. Good placement reduces finger travel distance and helps muscle memory develop faster.
Fire Button and Scope Placement
The fire button is one of the most critical elements. For two thumb players it usually sits on the right side within easy thumb reach. Claw players often place fire higher so an index finger can press it. The scope button should be close enough for quick activation without moving far from fire or movement controls. Test both positions in training mode to confirm you can aim and shoot without awkward finger shifts.
Movement and Jump Button Tips
The movement joystick typically stays on the left side. Adjust its size and position so your thumb can control direction comfortably without covering too much of the screen. Jump and crouch buttons should sit where you can press them while still controlling movement. Many players keep jump slightly higher or to the side of the joystick for quick access during fights. Make sure these buttons do not overlap with other frequently used actions.
How to Adjust Button Size and Opacity
Button size affects both comfort and visibility. Larger buttons are easier to press but can block more of the screen. Smaller buttons give a clearer view but require more precise touches. Find a balance that feels reliable during fast movement. Opacity controls how transparent the buttons appear. Lower opacity keeps the game view cleaner while still allowing you to see the controls. Adjust both size and opacity after the main positions feel correct.
Combining HUD With Sensitivity
A good HUD works together with your sensitivity settings. If buttons are well placed but sensitivity feels wrong, aiming still suffers. After finishing the basic layout, test your current sensitivity values with the new controls. Small sensitivity adjustments may be needed once finger movement becomes more efficient. Treat HUD and sensitivity as connected parts of the same control system rather than separate elements.
How to Test Your New Layout
Never take a fresh HUD straight into ranked matches. Open training mode and practice movement, jumping, shooting, scoping, and using items for at least ten to fifteen minutes. Pay attention to any button that feels hard to reach or causes accidental presses. Make small corrections and test again. Repeat this process until the layout feels natural. Proper testing prevents frustration in real matches.
Common HUD Mistakes to Avoid
One frequent mistake is placing too many buttons too close together, which leads to misclicks. Another is making buttons so large that they block important parts of the screen. Some players copy a professional layout exactly without considering their own hand size or finger style. Others change the HUD constantly and never give muscle memory time to develop. Avoiding these mistakes produces more stable improvement.
Saving and Switching Layouts
Once you are satisfied with a layout, save it clearly so you can return to it later. Free Fire allows multiple control profiles in many versions. You can keep one layout for ranked play and another for casual or force modes if needed. Avoid making major changes right before important matches. Stability in your controls supports better consistency over time.
Final HUD Optimization Tips
Start with your finger style, place the most important buttons first, and keep adjustments small. Test thoroughly in training mode before ranked play. Combine the finished HUD with comfortable sensitivity values. Give yourself several sessions to adapt fully to the new layout. With patient setup and proper testing, a custom HUD becomes one of the most effective ways to improve control, speed, and overall comfort in Free Fire.